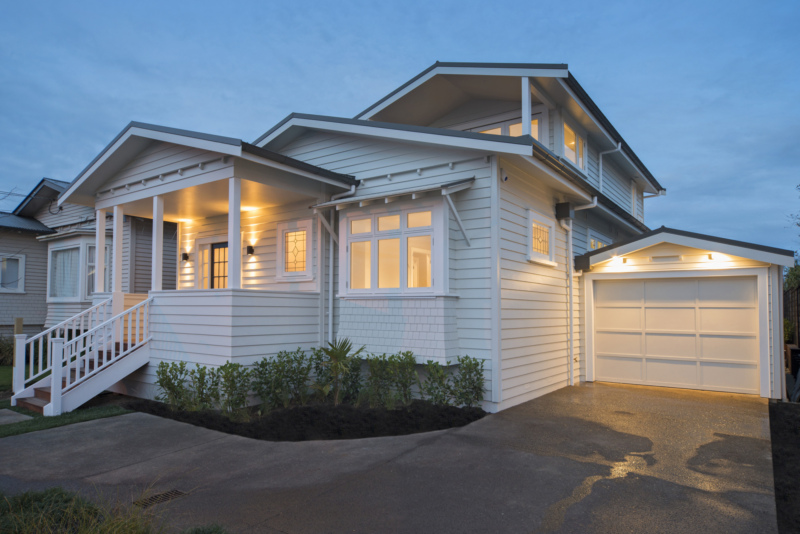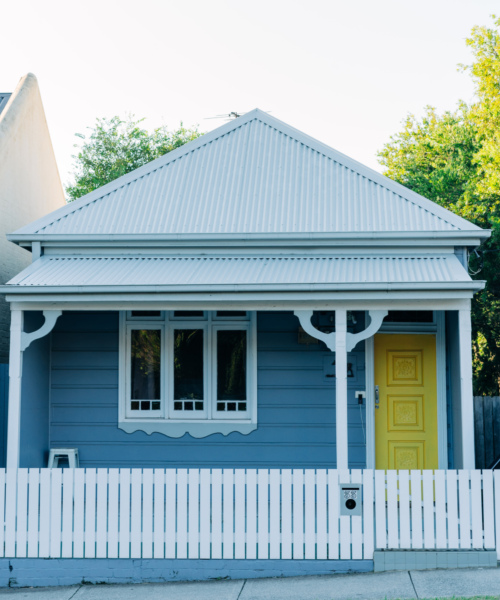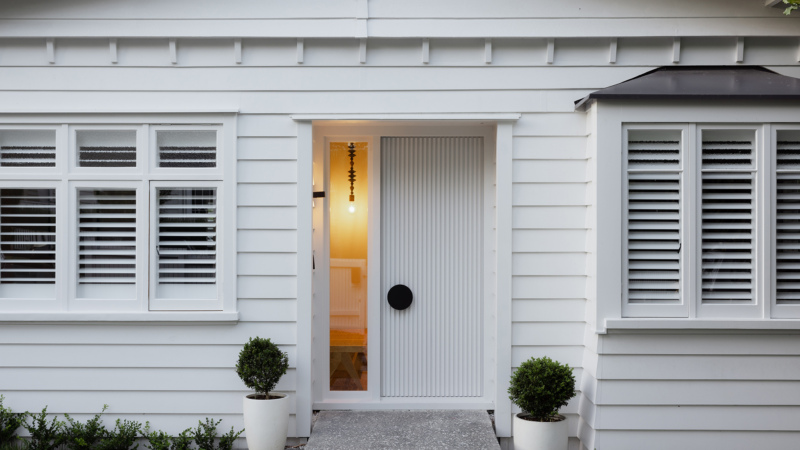
Preparation is key, and the most important step in the painting process to achieve professional-quality results. Follow these simple steps to ensure beautifully painted surfaces and a paint finish that lasts.


-
Clean the surface: Before painting, it's important to clean the surface to remove dirt, grime, and any other contaminants that may affect the adherence of the paint. Use an exterior cleaner or a waterblaster to clean the surface. Ensure any cleaners are thoroughly rinsed off the surface, and allow to dry completely.
-
Remove loose and flaking paint: If there are areas with loose or flaking paint, it's essential to remove them to ensure a smooth and long-lasting paint finish. Use a scraper or wire brush to gently scrape away the loose paint. Sand the edges of the remaining paint to create a smooth transition between the old and new paint.
-
Repair damages: Repair any damaged areas, cracks, or holes on the surface. Use suitable exterior, paintable fillers to fill in these imperfections. Follow the manufacturer's instructions for application and drying times. Once the repairs are complete, sand the patched areas until they are smooth and blend seamlessly with the surrounding surface.
-
Spot priming: If you have exposed bare substrate or patched areas, spot prime them with the recommended exterior primer before painting. This will help seal the surface, improves paint adhesion, and ensures a uniform finish. Refer to the paint product data sheet for the recommended primer.
-
Mask up! Mask off any windows, doors, or areas you’re not painting. Ensure the tape is securely applied and any gaps are properly covered.
-
Get the conditions right: Check the weather forecast before painting. Avoid painting in temperatures below 10 degrees or above 35 degrees, when there’s high humidity, or when rain is expected within the next 4 hours.
-
You're ready to start painting!
