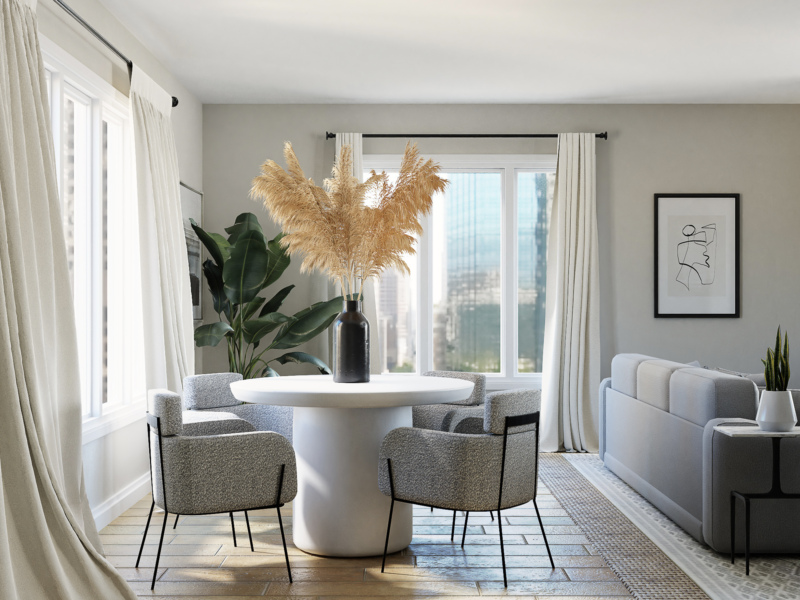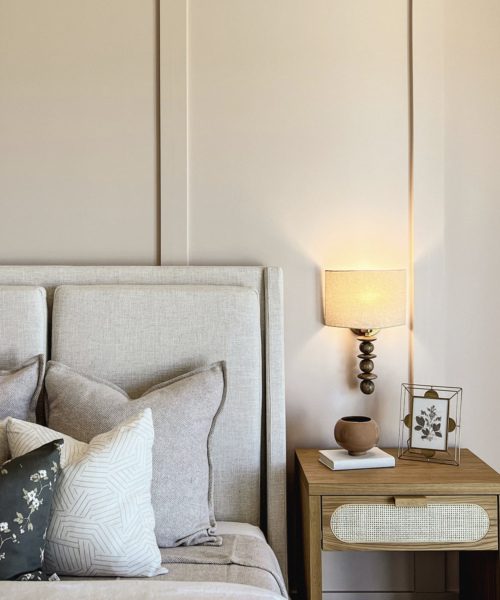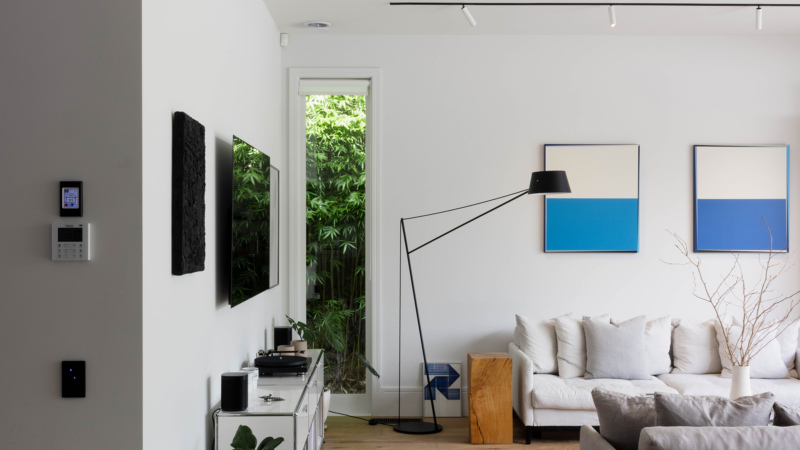
Colour can update the look and feel of a space
Reimagine your interior spaces with a fresh coat of paint - it's a surprisingly simple DIY too!


-
Create your working space - clear the area, cover anything you want to protect from rogue paint splatters, and lay out all your tools.
-
Ensure the surfaces to be painted are clean, dry and free from any loose or flaking paint. Refer to the application guide on the paint product pages for any specific preparation steps.
-
Mask up! Tape off your areas and remember, quality time spent in these prep steps will give you quality results.
-
Start cutting in your walls - load your brush by dipping it into the paint (about half the length of the bristles, anymore and things will get messy). Wipe off any excess paint on the side of the tin. Start by painting the edges and corners, ensuring a consistent spread of paint across the wall.
-
Ready to roll! Saturate your roller, and starting from where you cut in begin rolling across the wall. Use an M pattern to roll out, then go back to fill in the spaces. For best results, roll as far into the brushed area as possible.
-
For the smoothest finish, you want to 'lay off' with the roller. This means after applying all the paint to the wall, use you roller (with no additional paint on it) and with low pressure, starting at the top of the wall roll straight down without stopping. Repeat this step across the entirety of the wall.
-
Allow to dry - you can go in with your next coat in a couple of hours.
Quick tips
Remove the masking tape before the paint is dry to ensure you don't get any paint ripping off with the tape!
